Green thumbs welcome
Welcome to The Little Leaf Shack's guide to plant care! Here, you'll find all the essential tips and tricks to keep your green companions thriving. Whether you're a seasoned plant parent or just starting your leafy journey, we're here to help you nurture your plants and create a flourishing indoor oasis.
Moss Poles Introduction
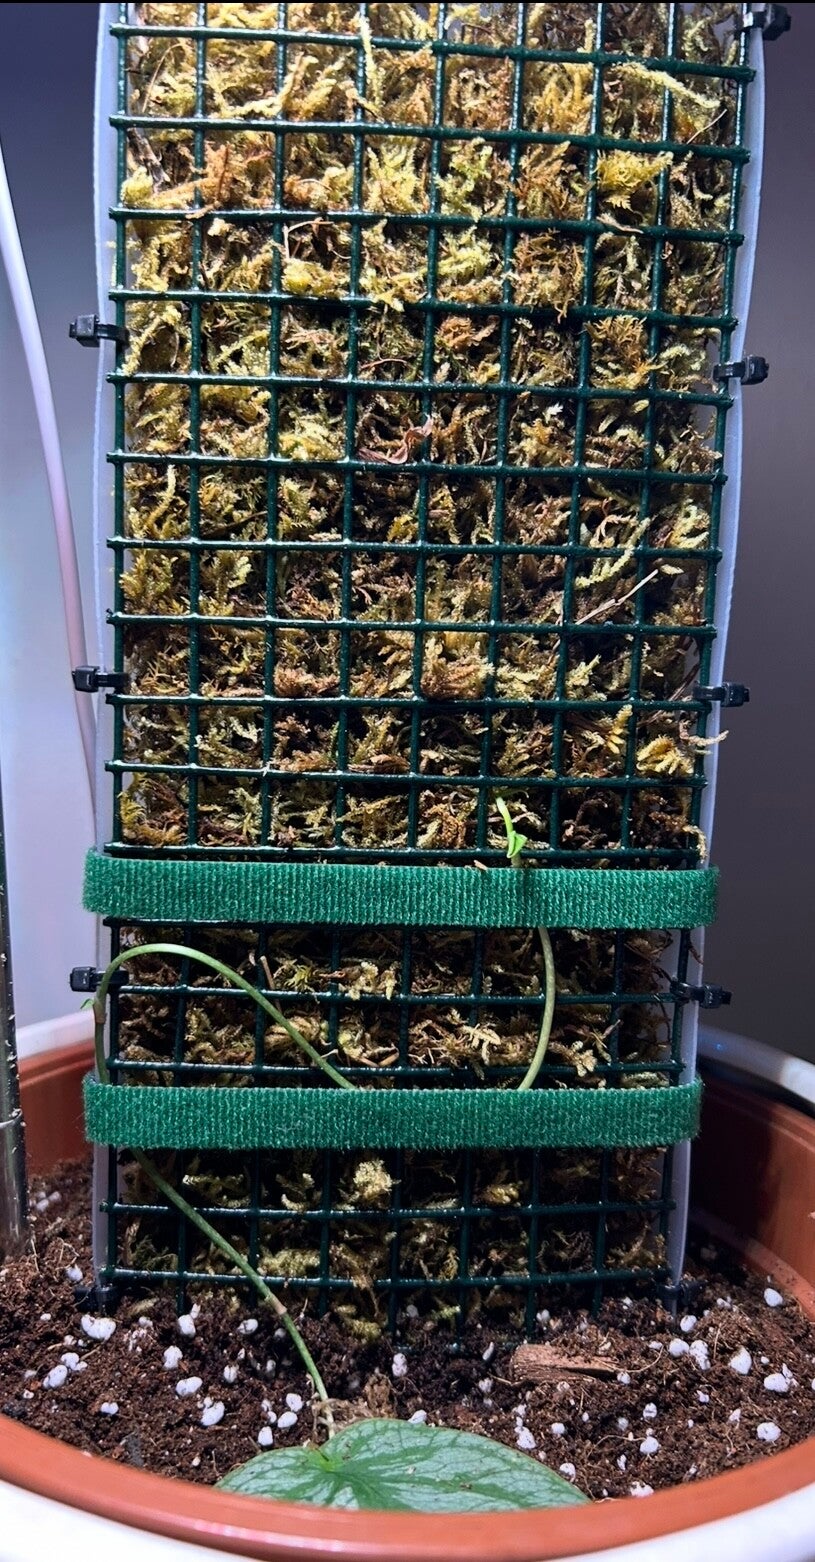
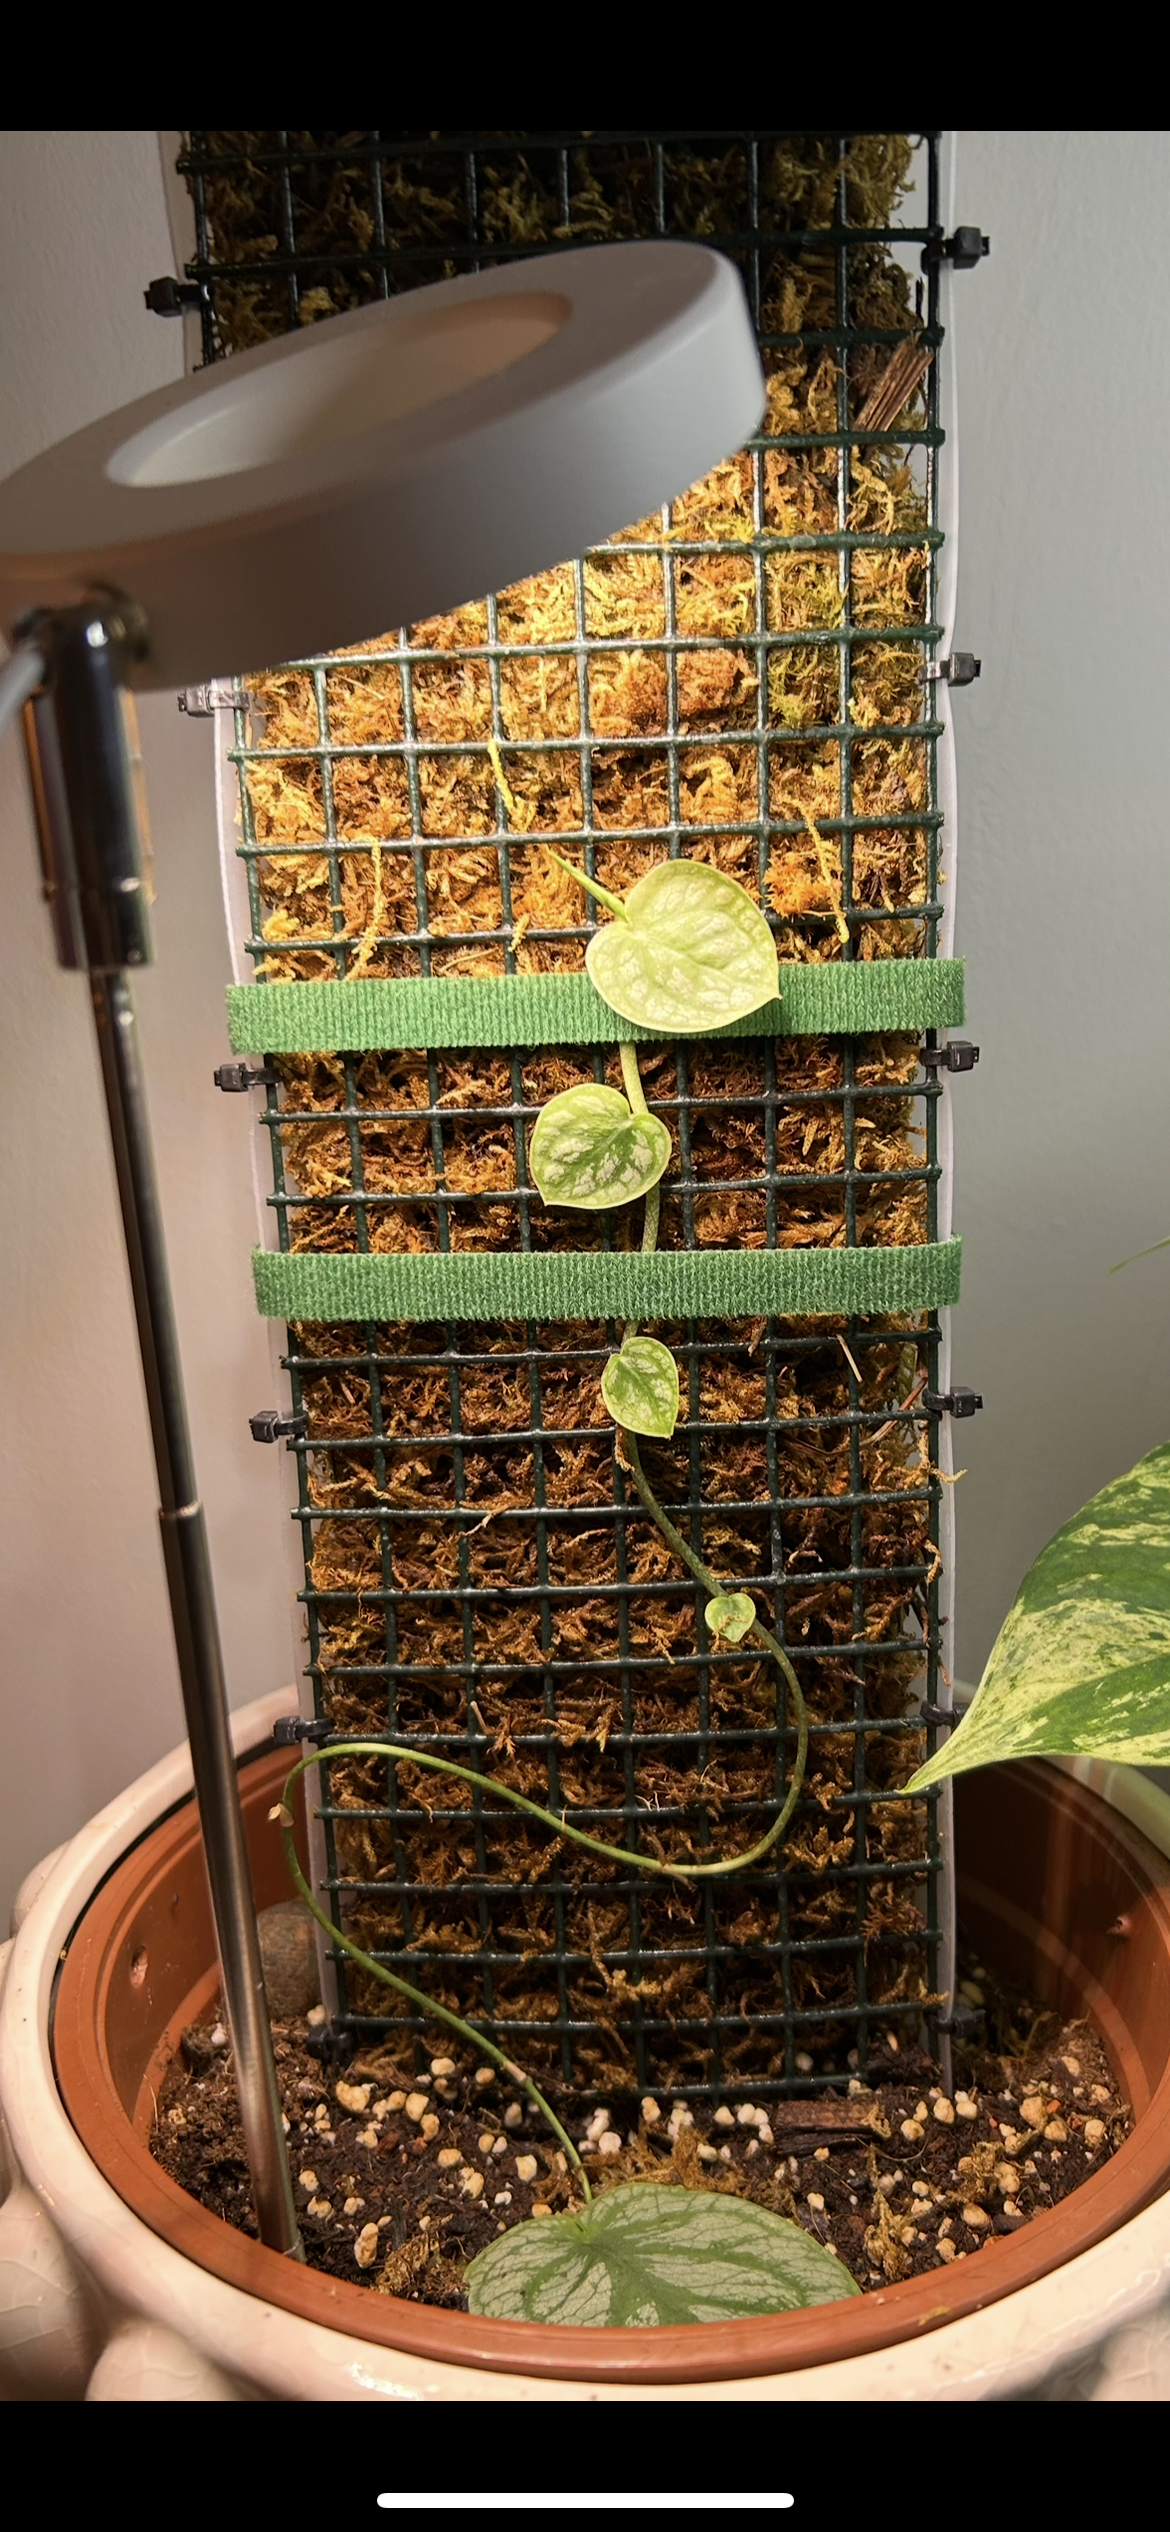
When I started learning about moss poles, I was so keen to get stuck in to grow bigger, more mature plants. So I bought my very first moss pole! I filled it with moss and put a small Epipremnum 'Marble Queen' at the base and waited. The hardest thing to get right for me is keeping it watered!
Once you get the hang of watering & feeding, moss poles become so rewarding! Below are a few photos of my very first plant on a moss pole.
Here are a few tips to get you on your way to having the best success with your moss poles!
Setting up
There are many types of moss pole to choose from when starting out. I would recommend a D shaped pole rather than a thinner round one.
Wet the sphagnum moss for 30/60 mins. When you're deciding a pot size, you want a pot that fits the pole snug to improve support.
I like to put soil in the bottom with to pole in, then I can make sure it's sturdy before filling with sphagnum moss. Leave about 2 inches from the top to make it easier to water.
Then pot up the plant. You'll need a crawling climbing plant to use the pole correctly as these plants shoot roots from the nodes.
Try to put these roots (nodes) onto the moss pole, I use twine to hold the plant against the pole.
When to chop
When to chop is down to preference...
I like to propagate everything so I might cut a plant a few times before it reaches the top of the moss pole.
The upside to this is that there are many more established roots coming from each of the nodes meaning more chance of success and more mature cuttings.
There is a method a plant enthusiast called The Sydney Plant Guy uses... and it's called 'the chop and extend'..
He cuts the plant & pole across the middle of a full pole. Then he will repot the top and then extend both poles so that they both regrow.

Watering
Watering the moss pole is easy enough, but knowing when to water is a little harder to understand.
Moss holds moisture really well... But if you let moss fully dry out then it becomes hydrophobic and doesn't absorb.
My method is to put a 1L bottle of water on top once a week (when moss is crisp). To test this i squeeze the back of the moss pole and if it sounds crunchy then its likely it needs water. This can vary depending on the size... Larger moss poles tend to dry faster at the top then I may not use a full bottle. I then like to mist daily when I can. This keeps the area around the nodes moist to encourage new growth points. Using this method means I rarely water the soil!
Feeding
Feeding your moss pole can also be a daunting task when starting out. It took me a while to get into it but once I did, the reward was incredible.
When you use a moss pole the plant keeps getting bigger and stronger naturally as the roots further up the plant develop. Now this will happen with or without feeding... But when you do feed... the results are outstanding.
I will usually feed the the entire pole every other watering... mixing fertiliser with 1L water. Then putting that bottle on top of the pole ensuring the moss is taking in the nutrients.
If the plant is more juvenile then I'd recommend waiting until after the first chop.
Cleaning Your Leaves
Why clean my leaves?
Many people skip this step... and I understand why! Here at The Little Leaf Shack we have nearly 200 houseplants growing away nice and happily because I take the time to really tend to ALL of their needs. Cleaning the leaves is so important. For the plant to photosynthesize properly the leaves should be clean...
When the leaves have got a layer of dust over them then the plant can't draw as much energy from the light. In turn giving you either, slower growth, smaller leaves.


How to clean your leaves:
When I clean the leaves on my tropical plants I like to get a microfibre dusting cloth and gently wipe the top and bottom of the leaves. Removing the dust layer. I then use leaf shine spray as per instructions to give the leaf a lovely clean, shiny look!
If you're not a fan of leaf shine then you can just use a damp cloth as an alternative, this will still ensure that your leaves are dust free and are able to photosynthesize to the best of their ability. Giving the plant the best chance of providing you with the growth that you strive for!
Sun smart
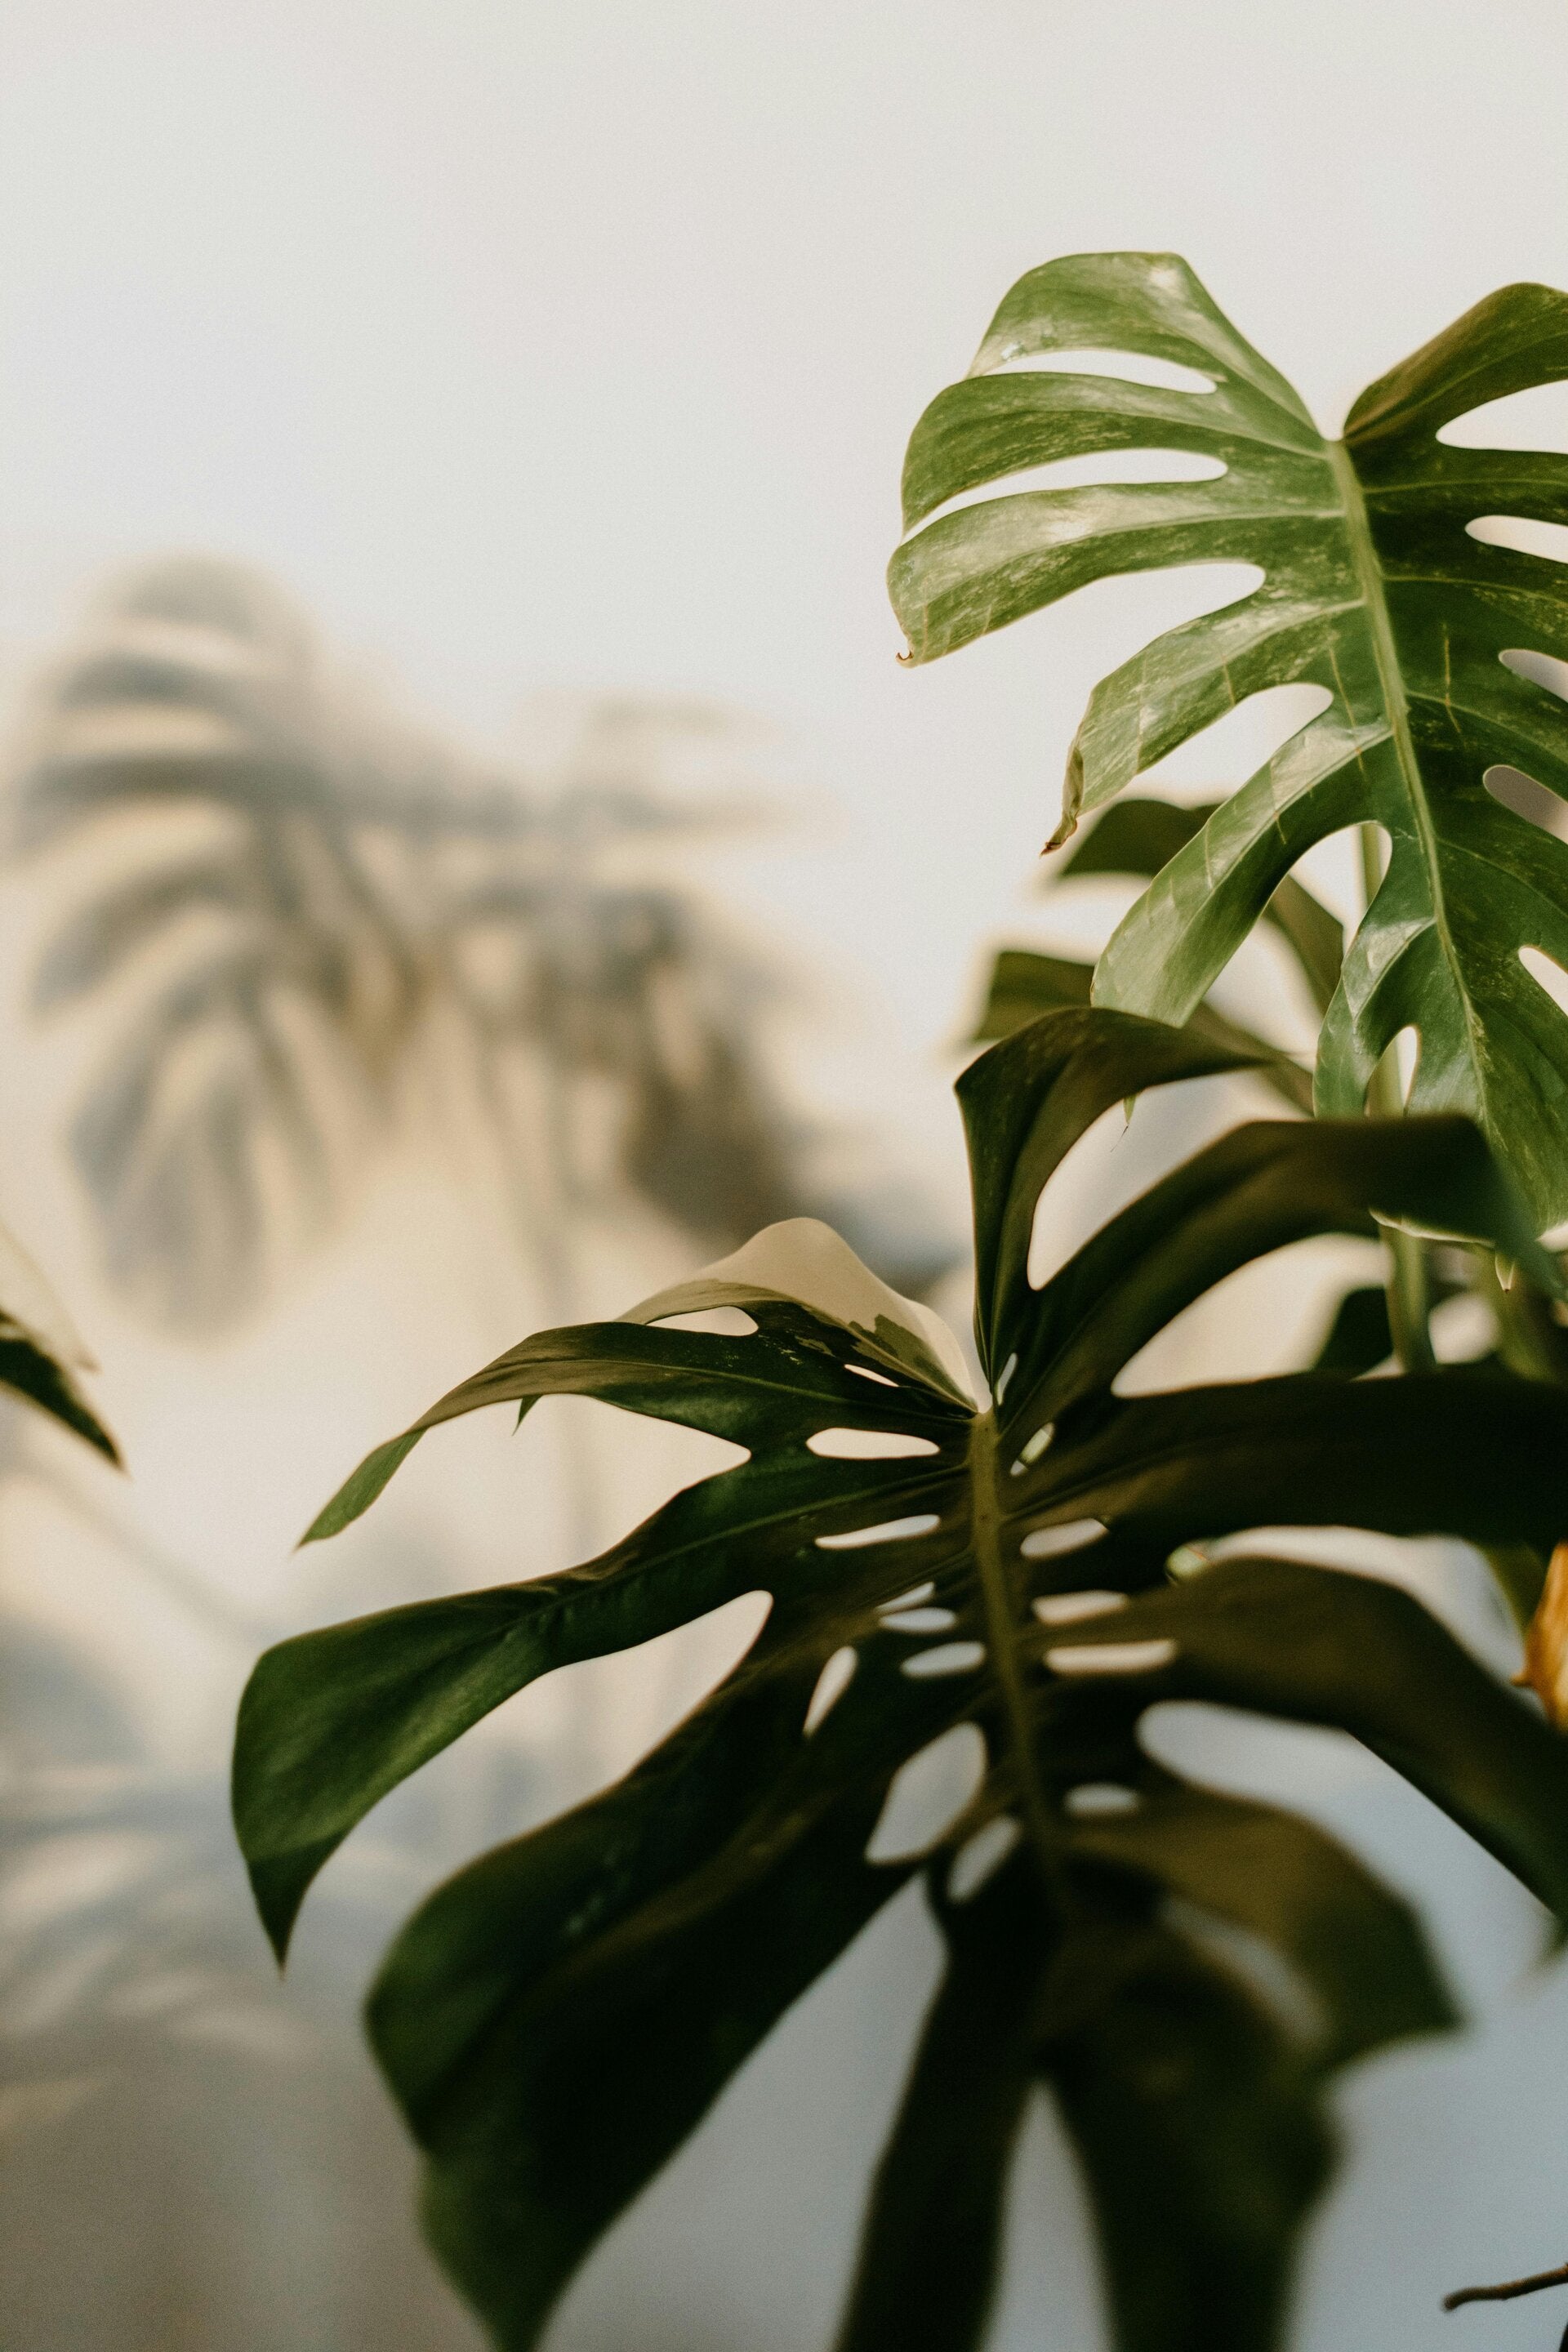
Tropicals love bright, indirect light. Think sunbathing under a palm, not frying on the beach. Place your Little Leaf Shack plants in a spot where they can enjoy gentle sunlight filtering through a curtain or a few feet away from a sunny window. Avoid direct sunlight, which can scorch their delicate leaves.
Water wisely
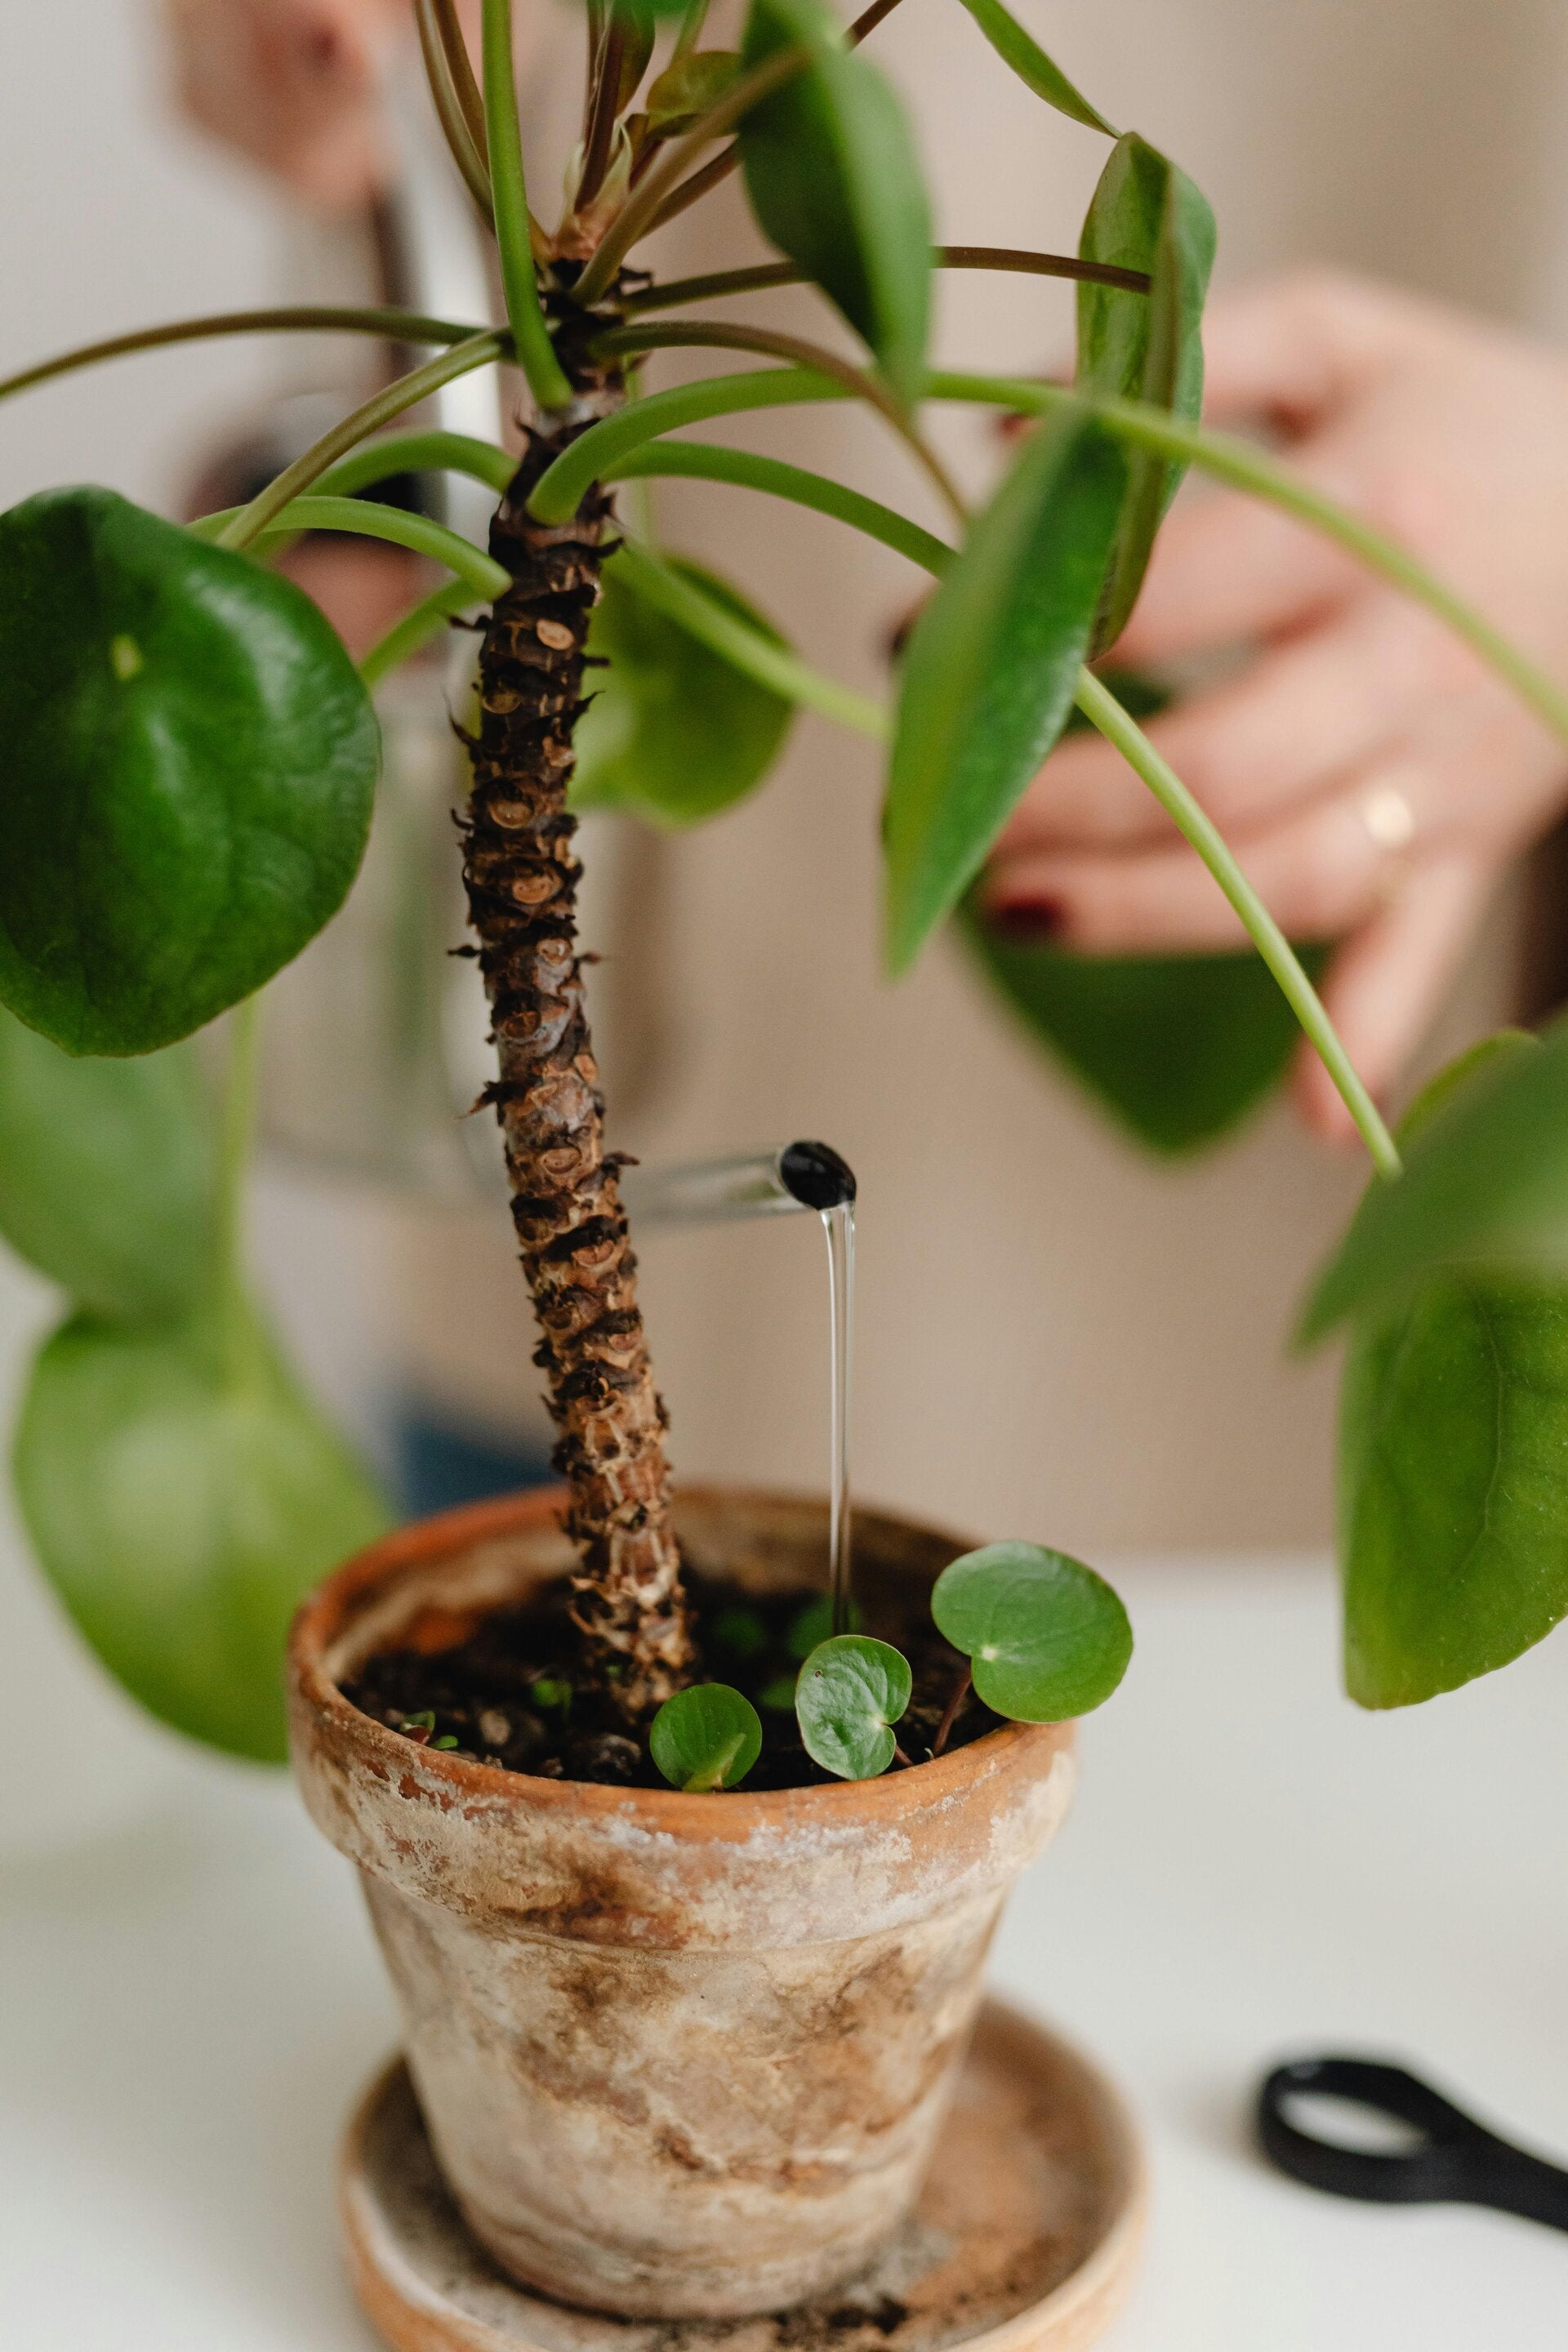
Water when the top inch of soil is dry. They like a drink - not a swamp party. Overwatering is a common pitfall, so it's best to err on the side of caution. Stick your finger into the soil to check the moisture level. If it feels dry to the touch, it's time to water. Ensure your pot has good drainage to prevent water from sitting at the bottom.

Bring the humidity
Tropical plants crave moisture in the air. Mist them, group them together, or let them enjoy steamy bathroom vibes. Increase humidity levels by misting your plants regularly with a spray bottle. Grouping plants together also creates a microclimate with higher humidity. Alternatively, place your plants on a tray filled with pebbles and water, ensuring the pot isn't sitting directly in the water.
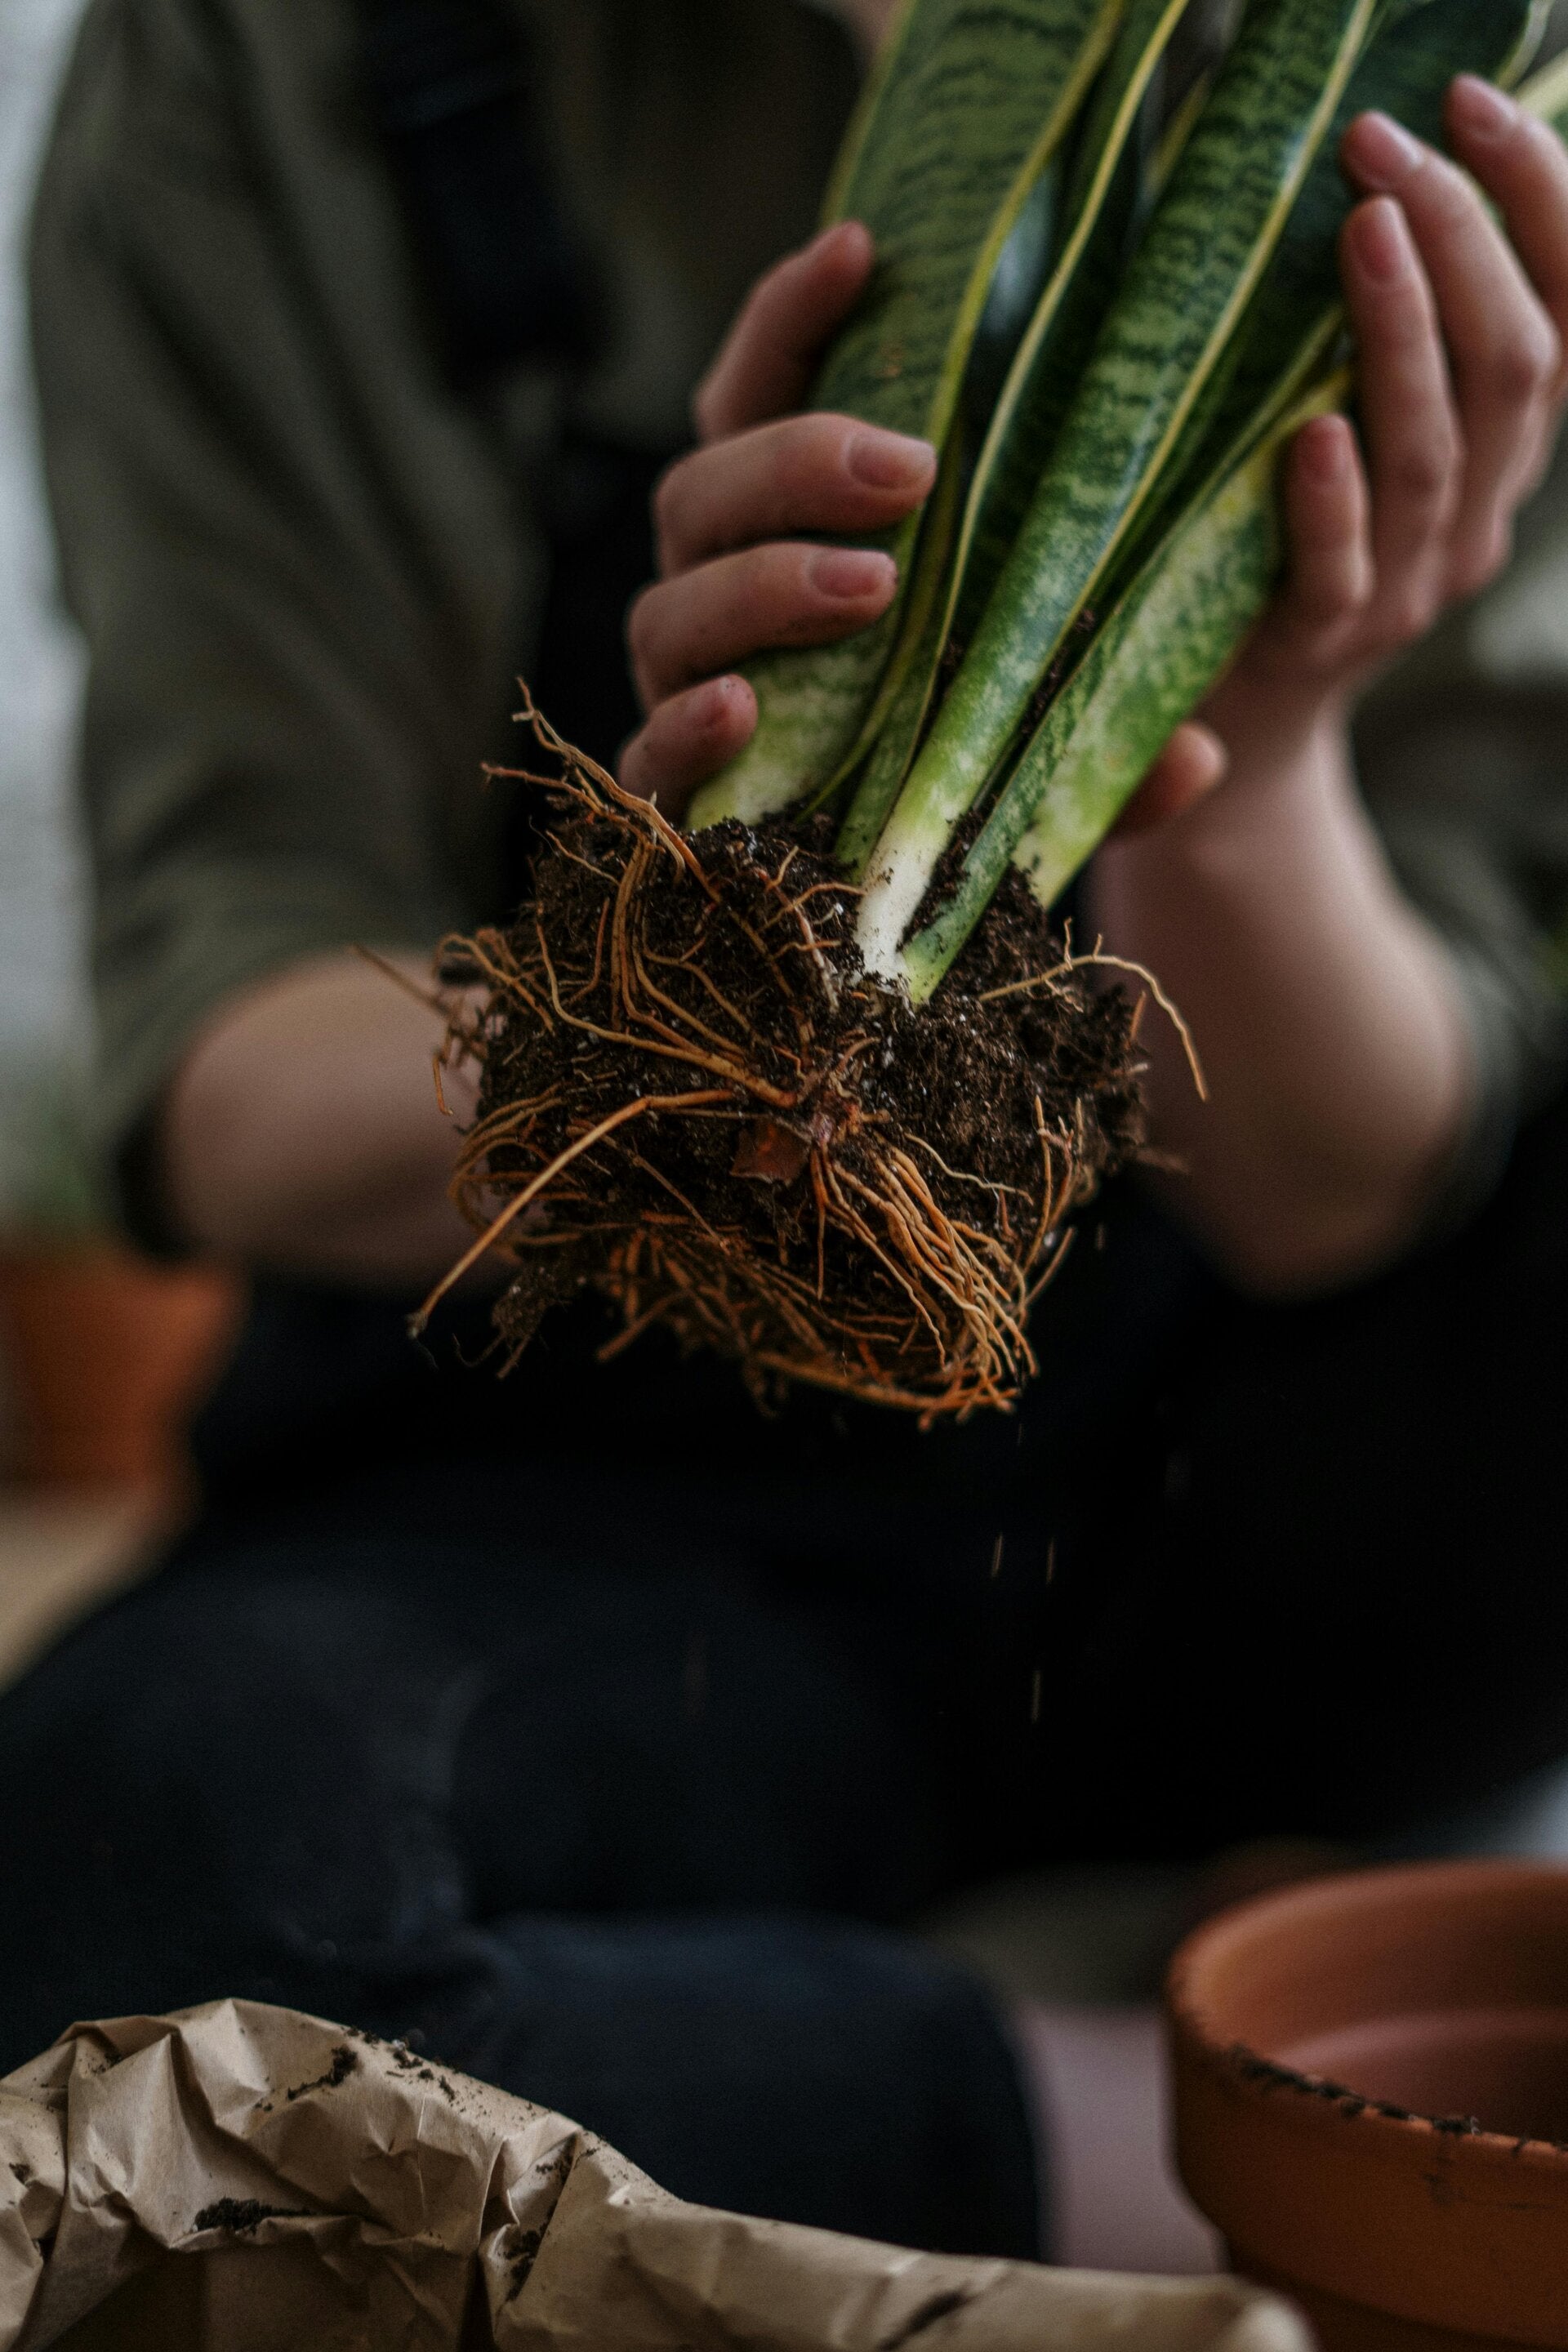
Good soil = happy roots
Use well-draining soil. Roots want air as much as they want water. Choose a potting mix specifically formulated for houseplants, which typically contains a blend of peat moss, perlite, and vermiculite. This type of soil provides excellent drainage and aeration, preventing root rot and promoting healthy growth. Avoid using garden soil, as it can become compacted and waterlogged.
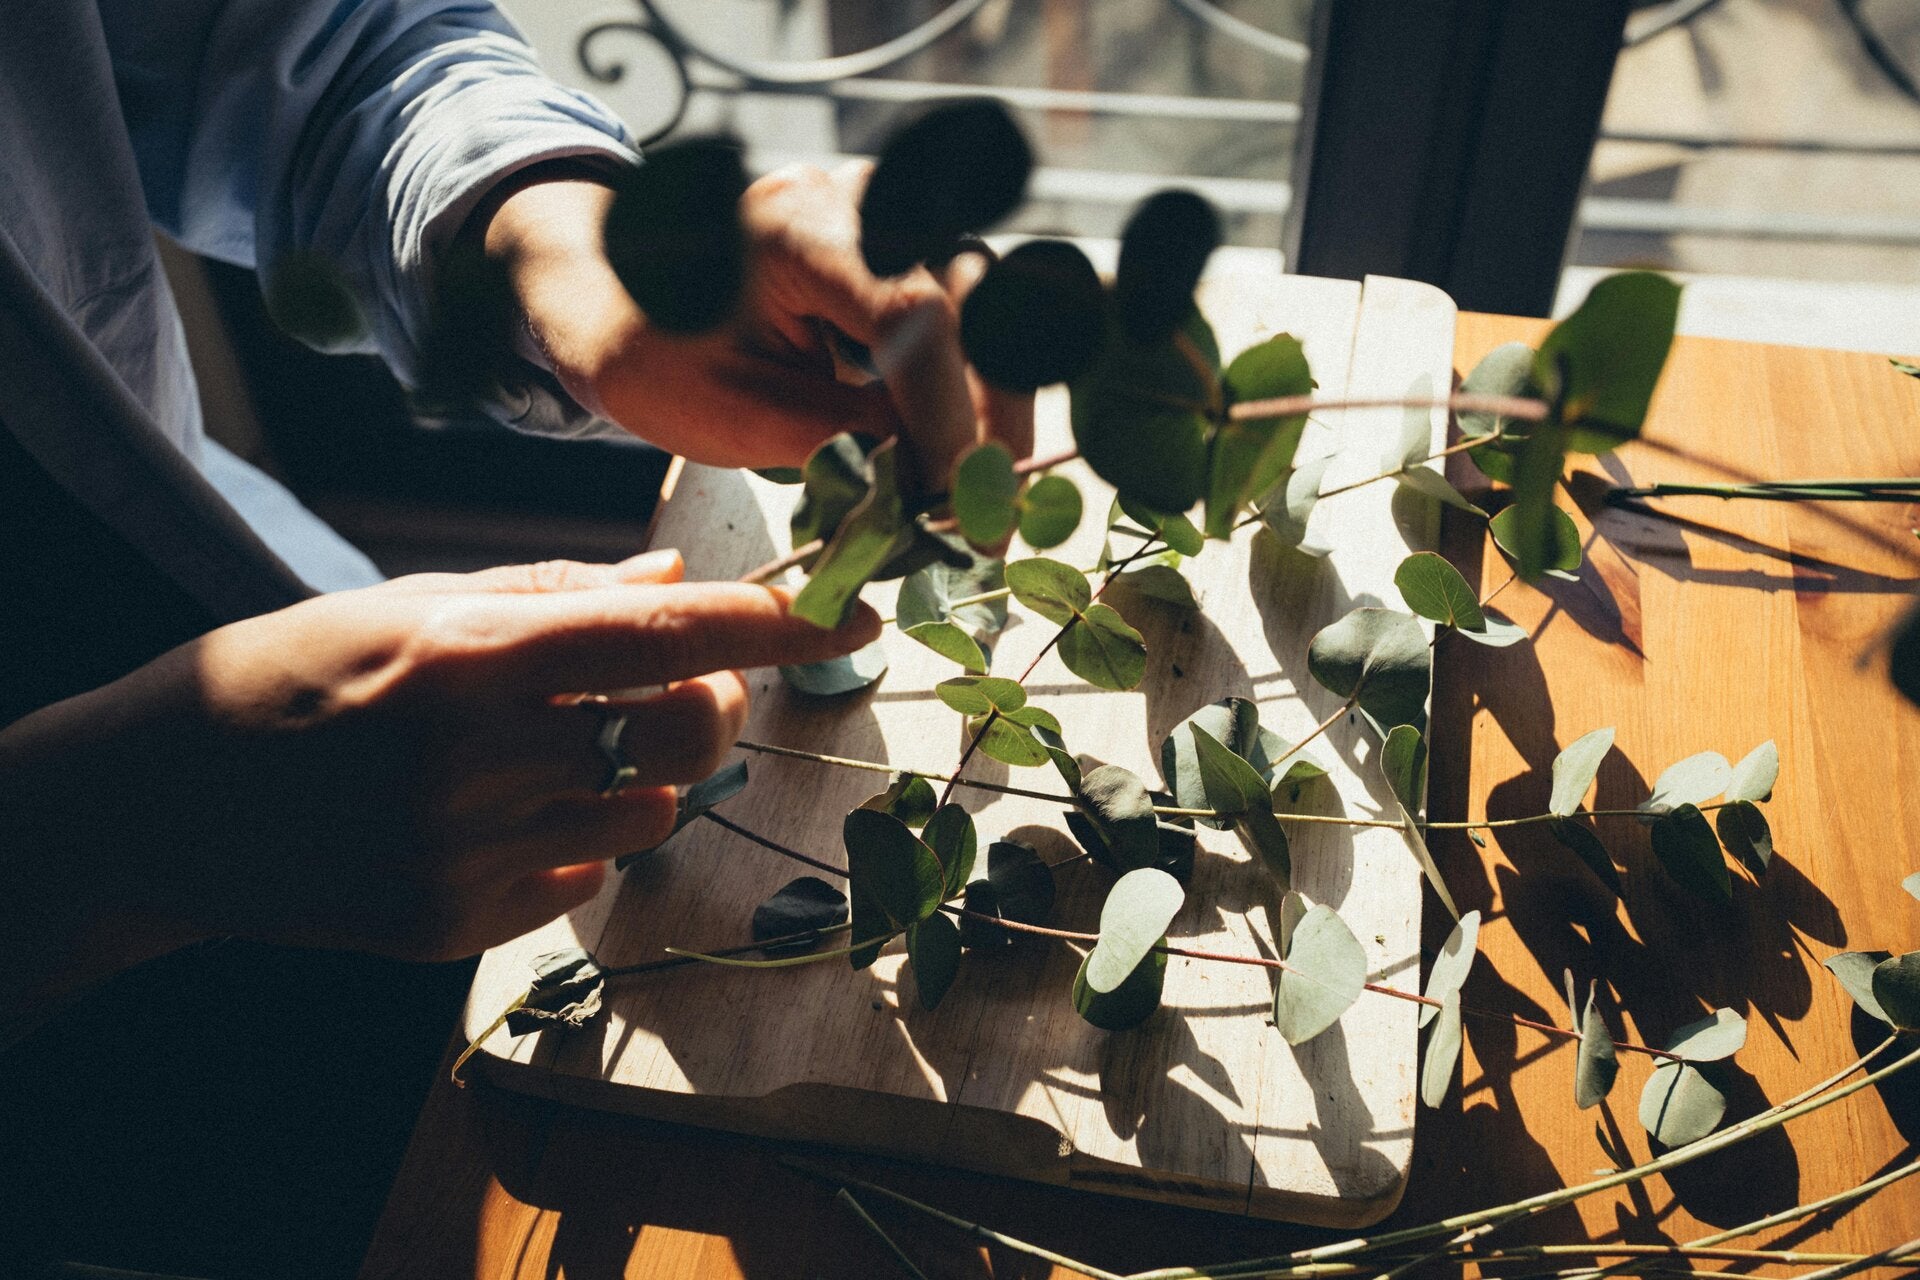
Trim with love
Remove yellow or damaged leaves. It’s a haircut, not a punishment. Regular pruning not only keeps your plants looking tidy but also encourages new growth. Use clean, sharp scissors or pruning shears to trim away any yellowing, brown, or damaged leaves. Cut stems just above a node (the point where a leaf or branch emerges), which will encourage the plant to branch out.
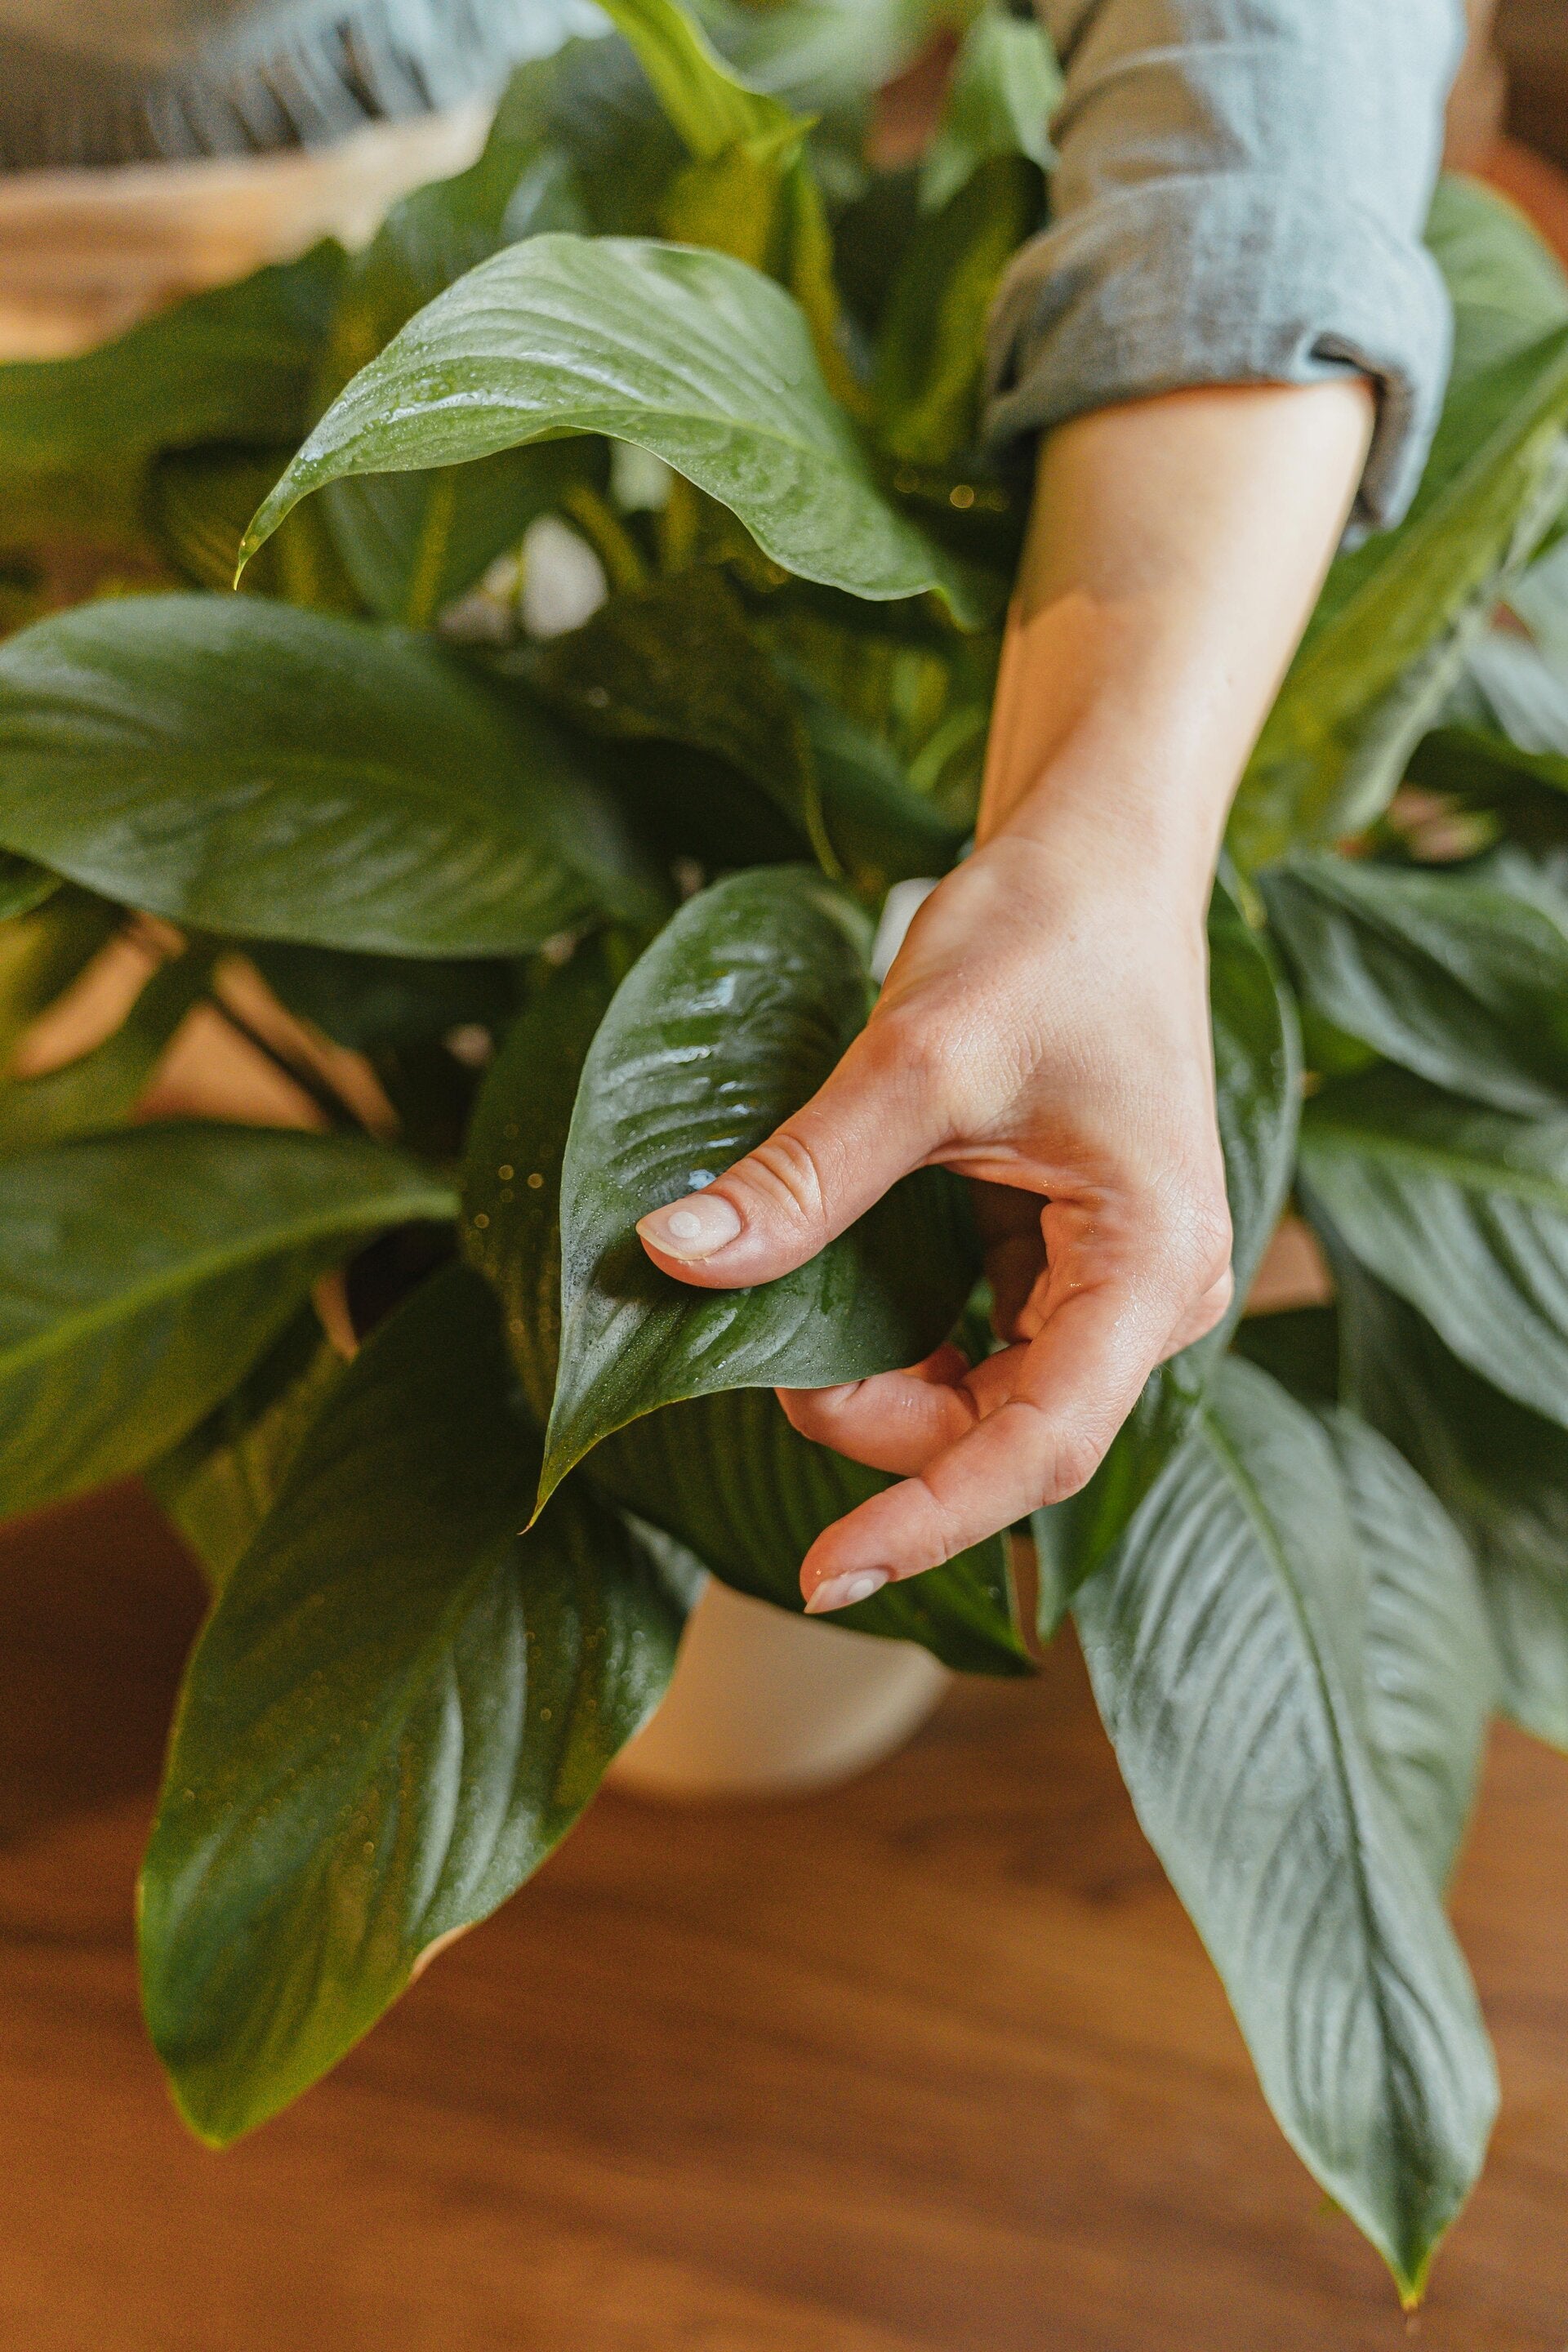
Check for hitchhikers
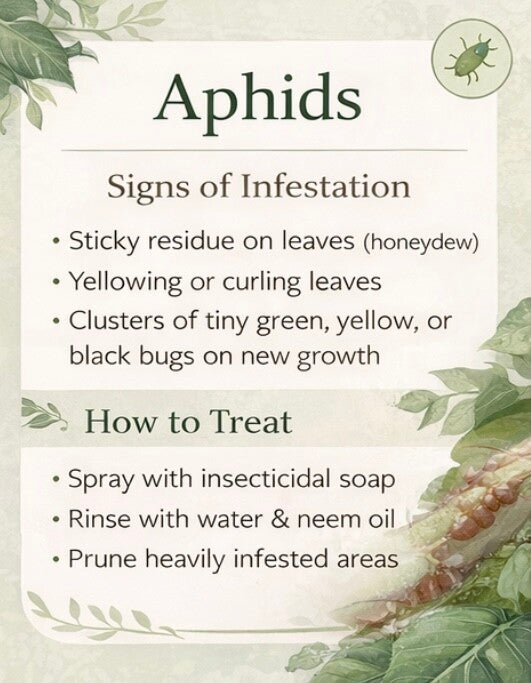
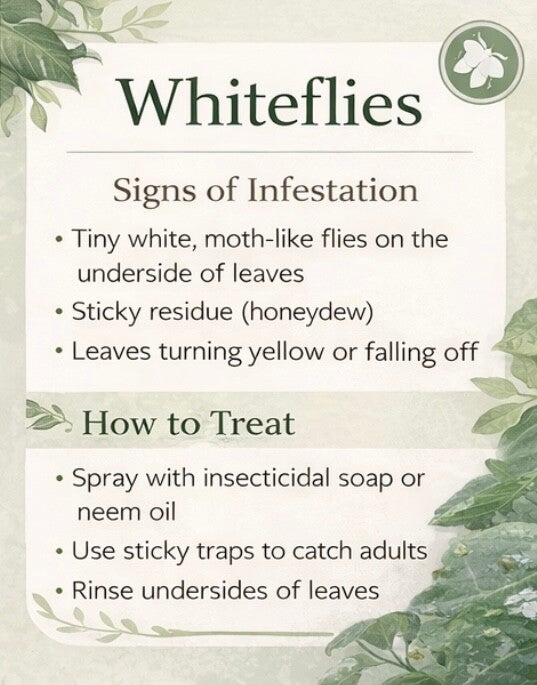
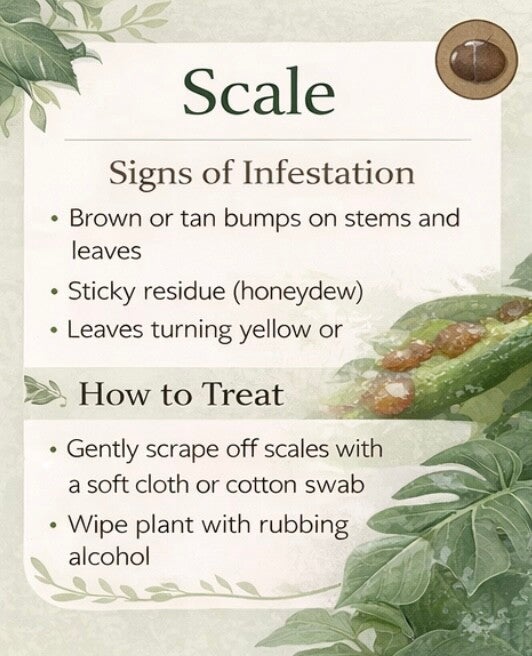
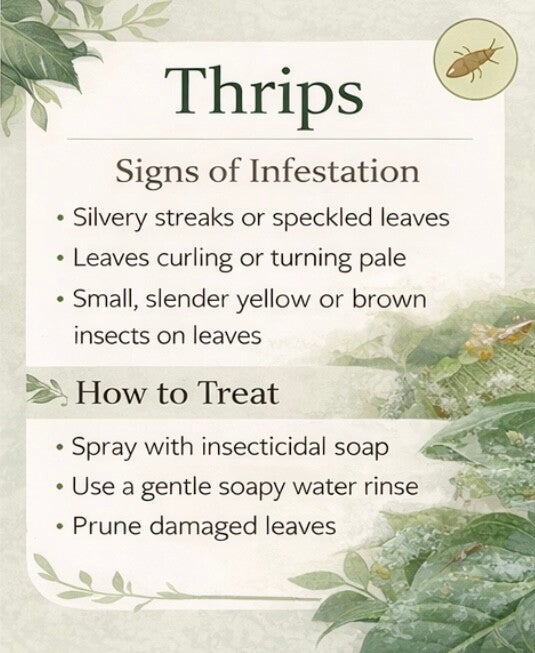
Peek under leaves for pests. Early spotting = easy fixing. Regularly inspect your plants for any signs of pests, such as aphids, spider mites, or mealybugs. Check the undersides of leaves, stems, and around the base of the plant. If you spot any pests, isolate the affected plant and treat it with an appropriate insecticide or natural remedy, such as neem oil or insecticidal soap. Early detection is key to preventing a full-blown infestation.